Ai and a Host
- System Description and specifications
- Prepare the installation Media
- Installation
We are recycling a system that was built for Bitcoin mining, named Moria, that was built with an ASUS B250 Mining Motherboard with a 7th Generation Celeron Processor, and 16GB of RAM
It was later recycled as a file server system running FreeBSD
Preparing the installation Media
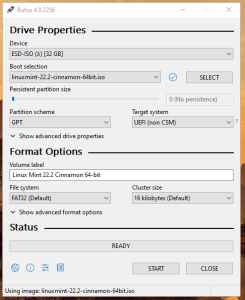
We downloaded a fresh copy of Linux Mint from. In this case, we are using 22.2, Cinnamon Edition.
We used Rufus, to create a bootable install USB drive. We have used it reliably for years, and it has always worked well
Installation
Boot the system off the bootable USB drive. This may require editing the system BIOS, or by selecting a boot menu an then selecting the drive. In our case, we told the system to boot off of the USB drive. We will, later, configure the system to boot, only, off the system drive
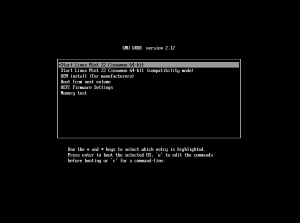
The user will be prompted with a boot screen, choose the “Start Linux Mint 22 Cinnamon 64-bit” option and let the system boot
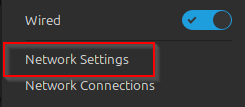
Eventually, the system will fully load into a “live” version of Linux Mint. This can be used to evaluate the system, but we are going to install it. Before we install it, we are going to configure the network settings. We find we get better results by configuring the network before the installation. We start by clicking on the network icon in the system tray in the lower right hand corner of the screen

Here we get a quick set of options for working with all the network connections, similar to Windows. Here we are going to select “Network Settings” to alter the configuration
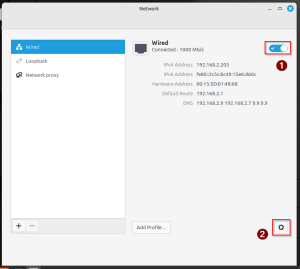
This will bring up the Network Menu. We find it best to turn the network off by the swith ( 1 ), and then we can configure it with the gear icon( 2 )
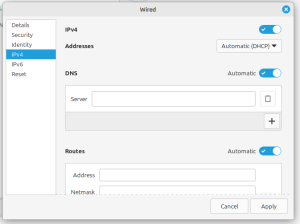
On this screen we enter network configuration information appropriate to our network. We don’t use IPv6, so we turn it off, but we fully configure IPv4 here.
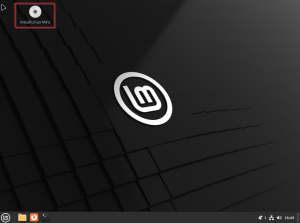
Once the network is configured, applied, and turned on, we can proceed with the installation, by selecting the “Install Linux Mint” icon in the upper right hand corner, looking like a CD ROM
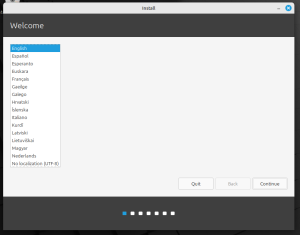
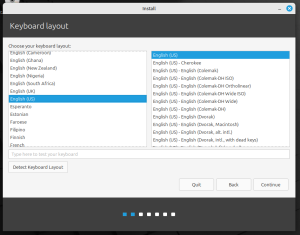
Here we are presented in a short series of screens configuring the language settings for the new Linux system
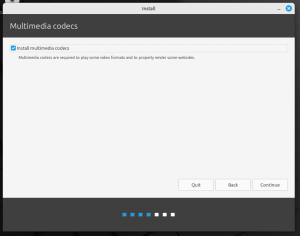
We are presented, here, with the option to install Multimedia extensions. If this were a Virtual Machine, used for development, we would not select it. In this case, for this project, we went ahead and installed them.
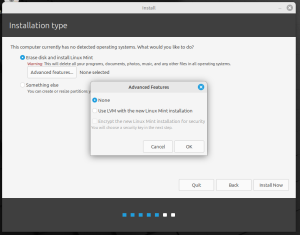
Here we are presented with partition installation options. In our case, we chose to go with LVM option to meet our future Logical Volume Management needs. If this is not needed, it can be installed as is.
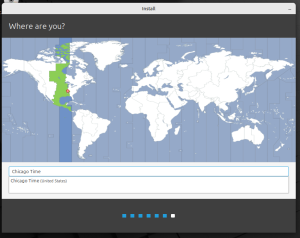
Here we are presented with an option to choose an appropriate time zone option for our computer.
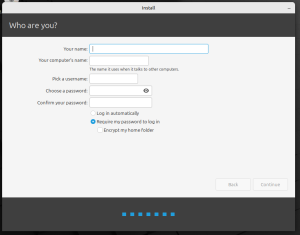
In this, final, configuration screen for installation, we are presented with options for creating a username. Please remember that this user is automatically added to the sudo group and afforded additional privileges by default.
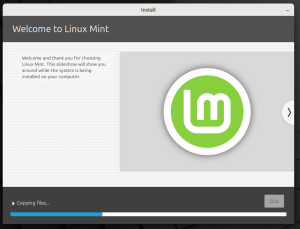
Now that we have configured everything, the installation will proceed.
Leave a Reply