- Introduction
- Preparation
- Management
- Conclusions
RAID Arrays are a, mostly, hardware method that allows a computer to represent multiple disks as a single disk in different logical structures for a variety of purposes, such as fault tolerance, and speed.
Agile Technology has, mostly, employed the ZFS, a software based RAID like solution in its file sharing servers due to the robustness and the options offered in its implementation, on our FreeBSD based file servers
Logical Volume Management is a flexible disk management process that allows us to represent one or more physical drives as being one or more logical drives on the system without the less flexible traditional methods of disk partitioning or RAID Array schemes. Similar to RAID Arrays, the Logical Volume Management system manages the logical location of data, on a collection of physical disks, adding the ability to easily move and relocate logical volumes as well as add and remove physical drives.
In looking through Linux Mint’s Software Manager, we found that lvm2 has been installed by default. Sadly, this is a command line only tool, but the commands appear to be fairly straight forward
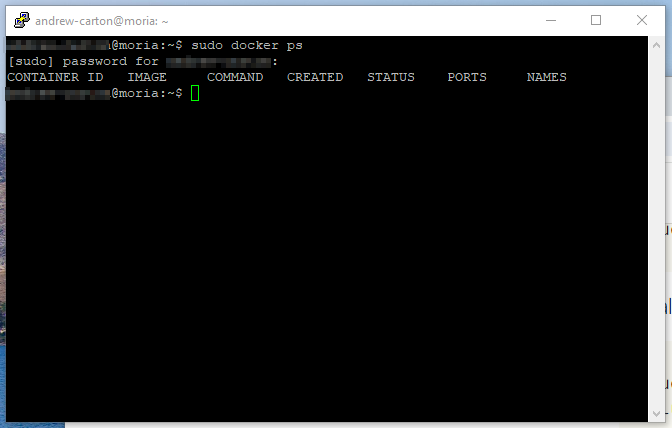
Moria features, at the moment, 4 physical drives
- /dev/sda : Samsung 128GB SSD
- /dev/sdb : Samsung 128GB SSD
- /dev/sdc : SPCC 512GB SSD
- /dev/sdd : TEAM 512GB SSD
/dev/sda is the System drive with a Logical Volume, “VG vgmint”, composing of a partition, /dev/sda2
“vgmint” features two drives, “/dev/vgmint/root” and “/dev/vgmint/swap_1”